Quick start
the terminal on your screen.
The shortest way from the zip to SOLSCOPE running in Chrome on live data. No account, no key and no backend are needed for this. If Flutter is not installed yet, do Requirements first.
01Before you start
flutter --versionshows Flutter 3.41 or newer (tested with 3.41.4).- Google Chrome is installed. For a phone, an iOS simulator or Android emulator is running.
SOLSCOPE ships keyless. It runs on keyless sources out of the box, and every section that needs a credential says so on screen instead of showing a blank or a zero.
02The ten minutes
- Unzip and open a terminal in the project folderPut it somewhere without spaces, for example
~/projects/solscope. - Install packages
flutter pub get - Check the codeOptional, but it proves your toolchain is right.
flutter analyze # expect: No issues found! flutter test # expect: All tests passed! - Run it in Chrome
For a phone or simulator useflutter run -d chromeflutter run -d <device>;flutter deviceslists them. - Run it again with your operator consoleThe Setup tab (the operator console) is only compiled into a build that has a passcode, so a build you give to users cannot be reconfigured by them. For yourself:
Open Setup and type that passcode.flutter run -d chrome --dart-define=SOLSCOPE_OPERATOR_PASSCODE=<six characters or more>
The flutter commands on this page are the same on every system. Lines that end in \ continue on the next line in the macOS and Linux terminals; in Windows PowerShell put the whole command on one line (or end each line with a backtick `). Commands such as cp are macOS/Linux: on Windows use Git Bash or WSL, or the PowerShell equivalent (Copy-Item .env.example .env). iOS builds need a Mac.
03What you should see
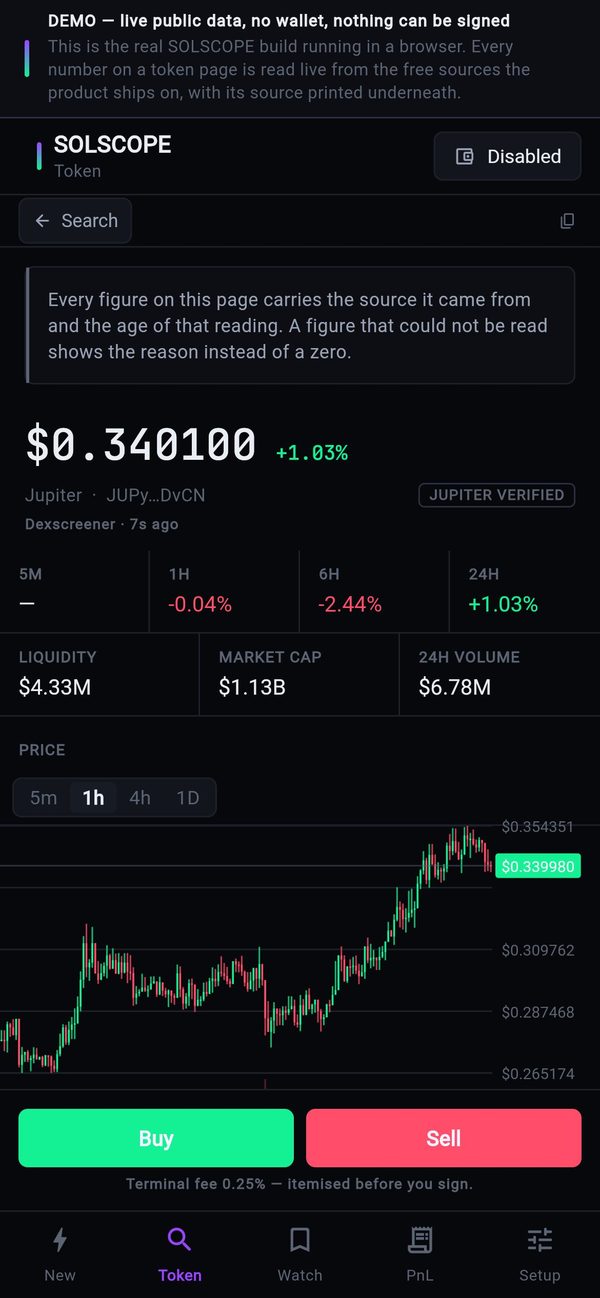
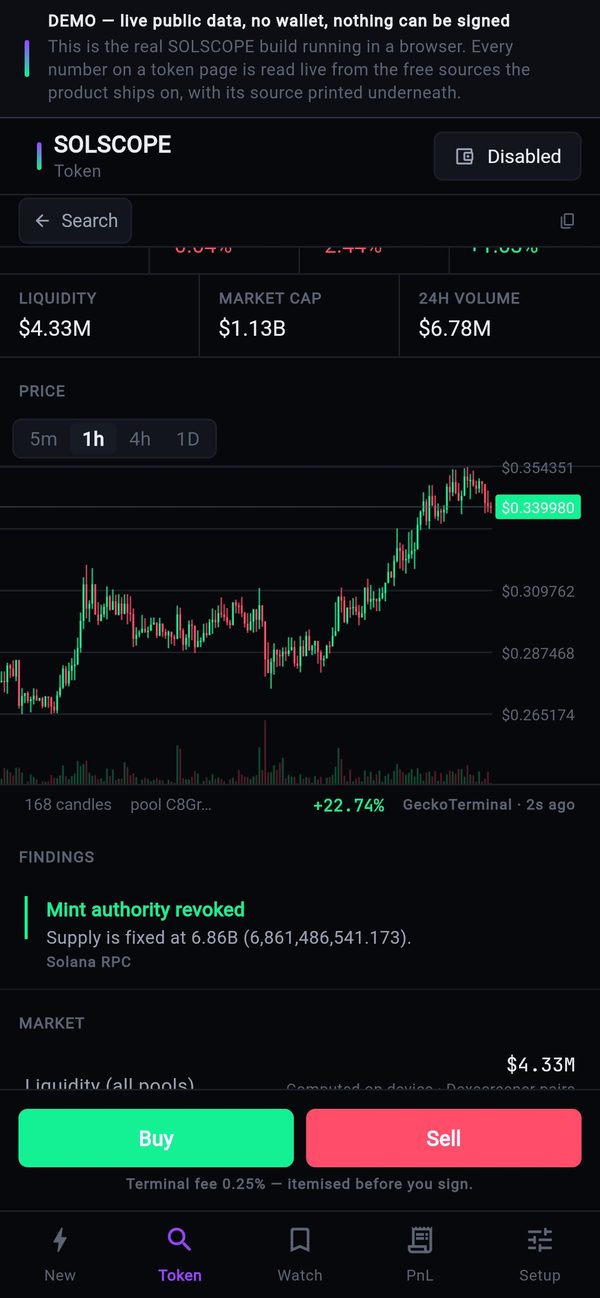
- The terminal opens on a Token page: the last token this device looked at, or JUP (Jupiter's token) on a fresh install.
- The status bar says Public RPC. That is expected: without your own RPC URL the app uses a public endpoint, which is rate limited. Some figures (top holders, dev-wallet history) show the reason they are missing and which key unlocks them.
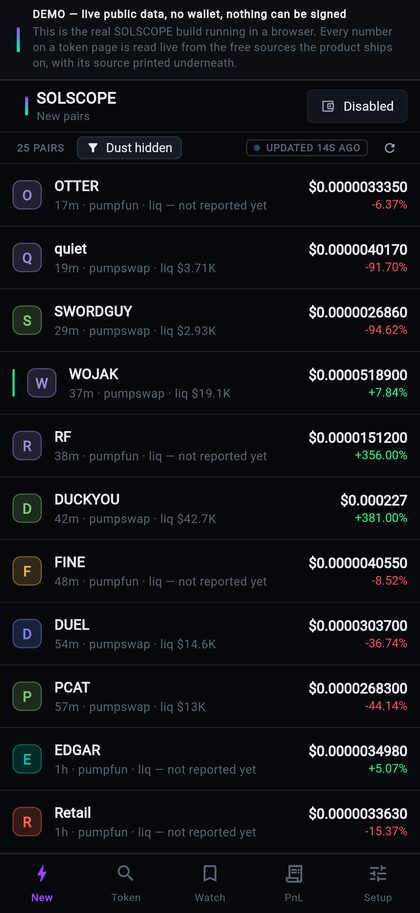
- Without a passcode there is no Setup tab: four surfaces, New pairs, Token, Watchlist and PnL. That is the end-user build.
- With the passcode, Setup → What this terminal earns reads Off. No fee is sent until you set a rate and a fee account (Setting up earnings).
Continue with Installation: your RPC, your keys and your config URL. Plan about 30 minutes.